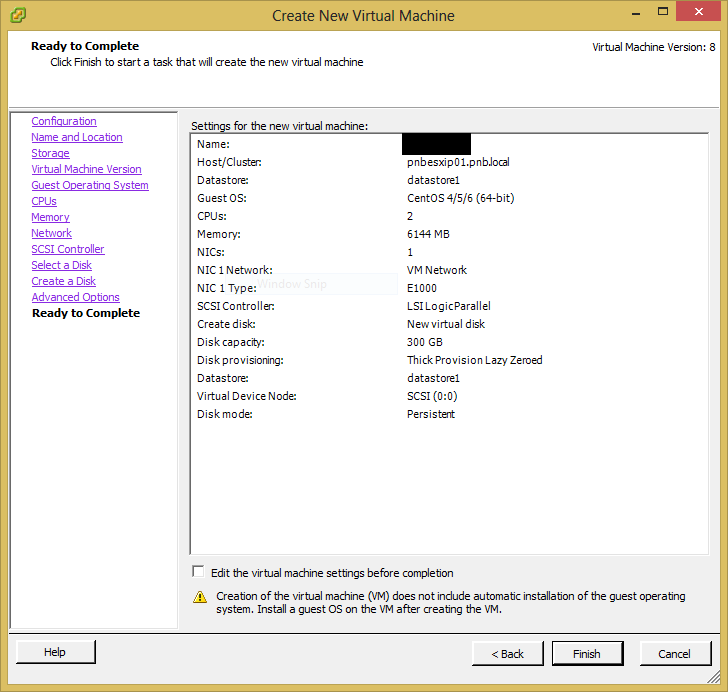
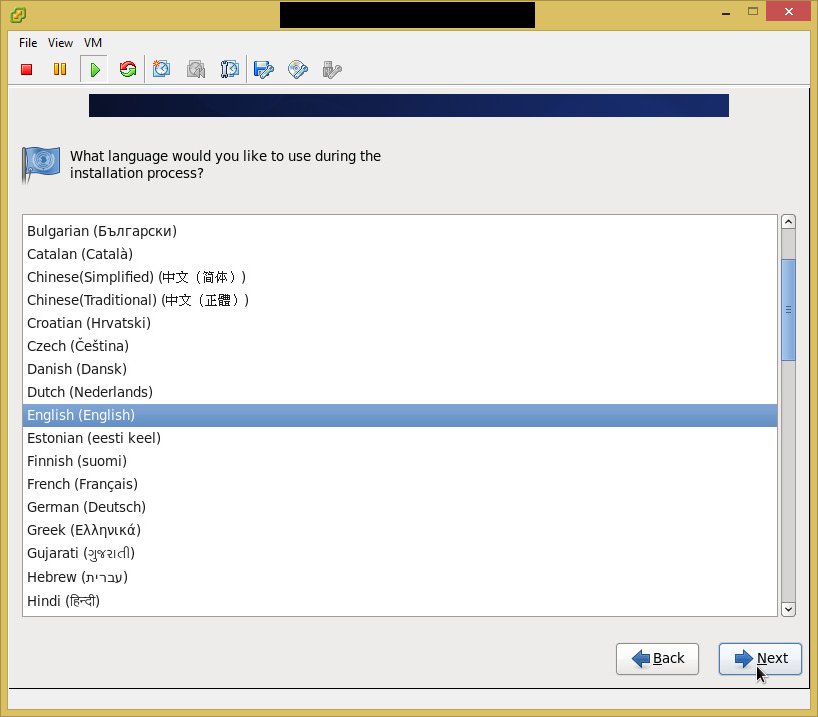
Let’s start by installing CentOS 6.4. I am going to do it in a ESXi virtual machine, with 2 vCPUs, 6GB RAM, and a 300GB virtual disk.
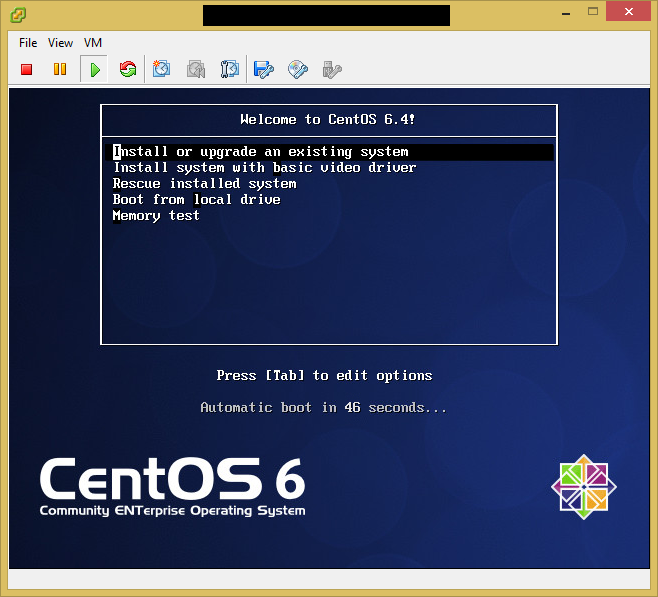
Attach the CentOS install DVD and let’s fire the VM up!
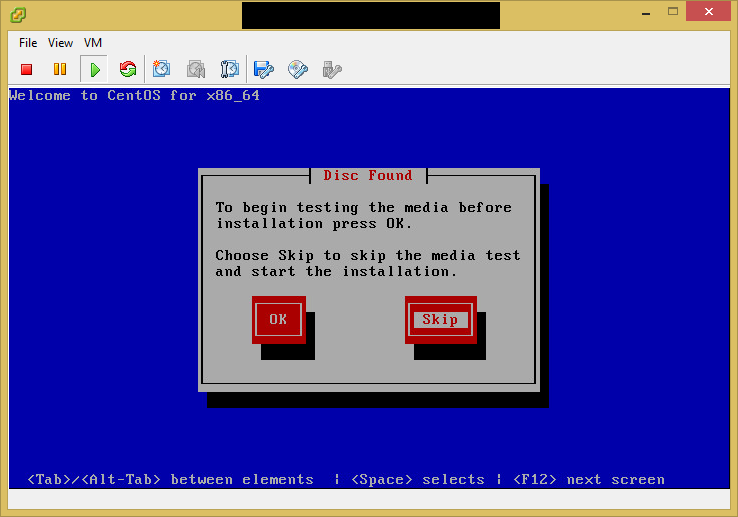
Skip the media check..
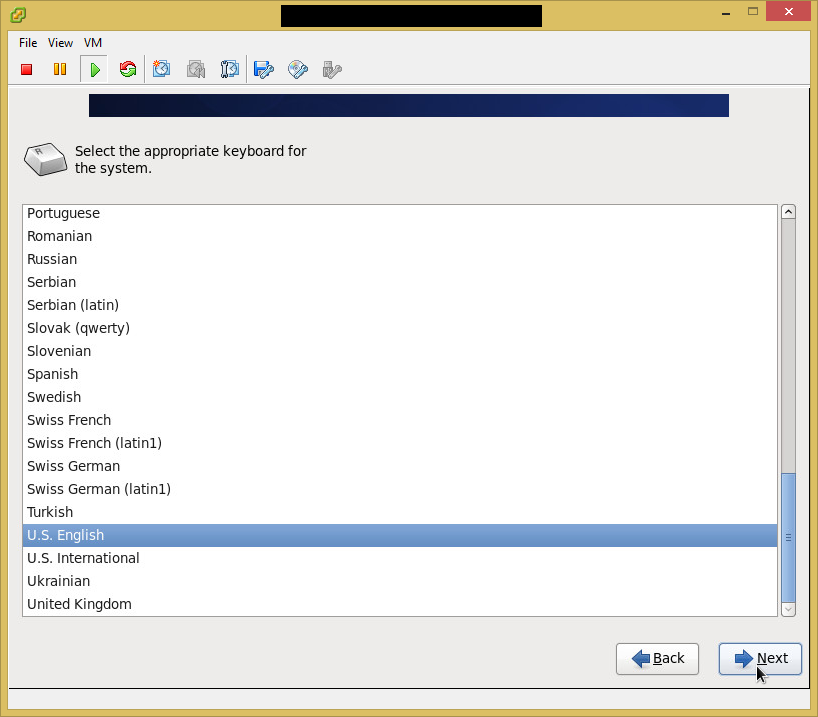
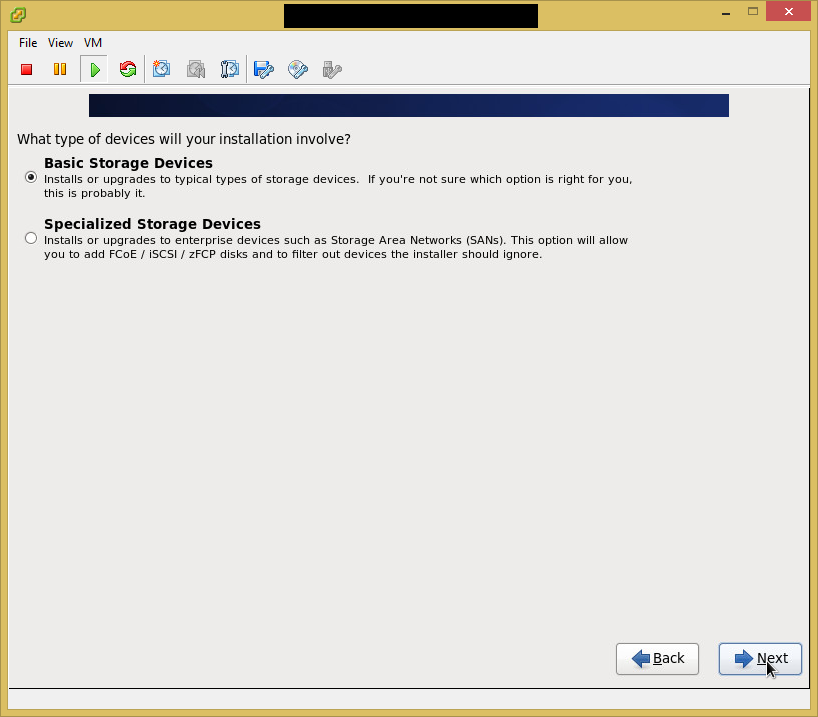
Next, next, next, next..
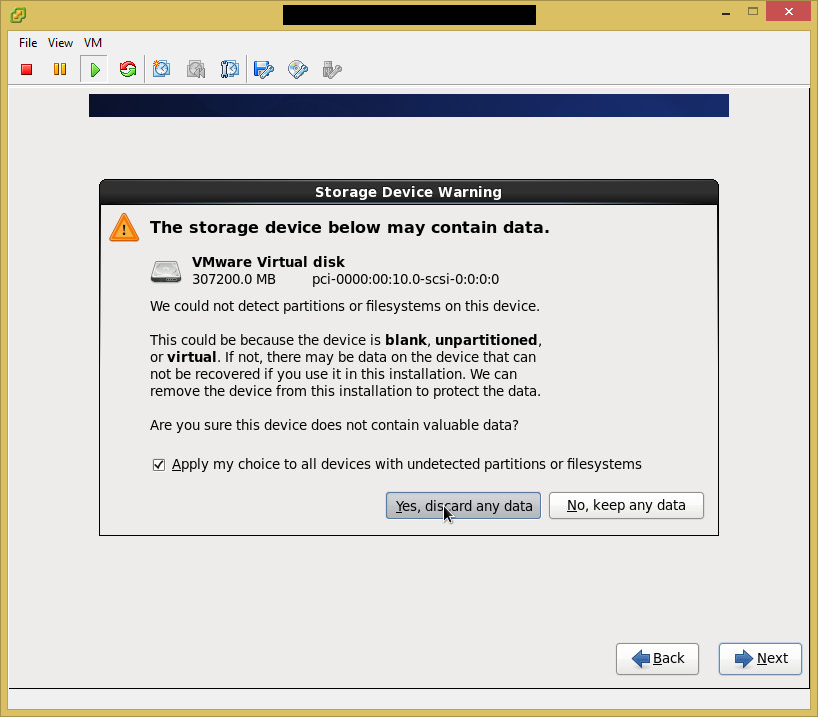
Agree to discard data in the disk, since it is a virtual ESXi vmdk disk.
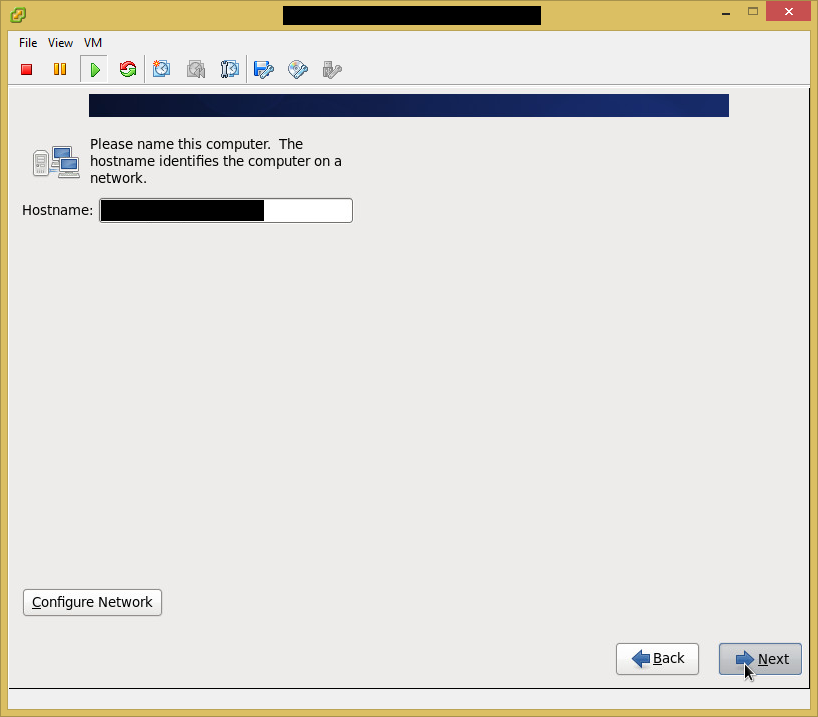
Key in the FQDN of the server, and click Configure Network.
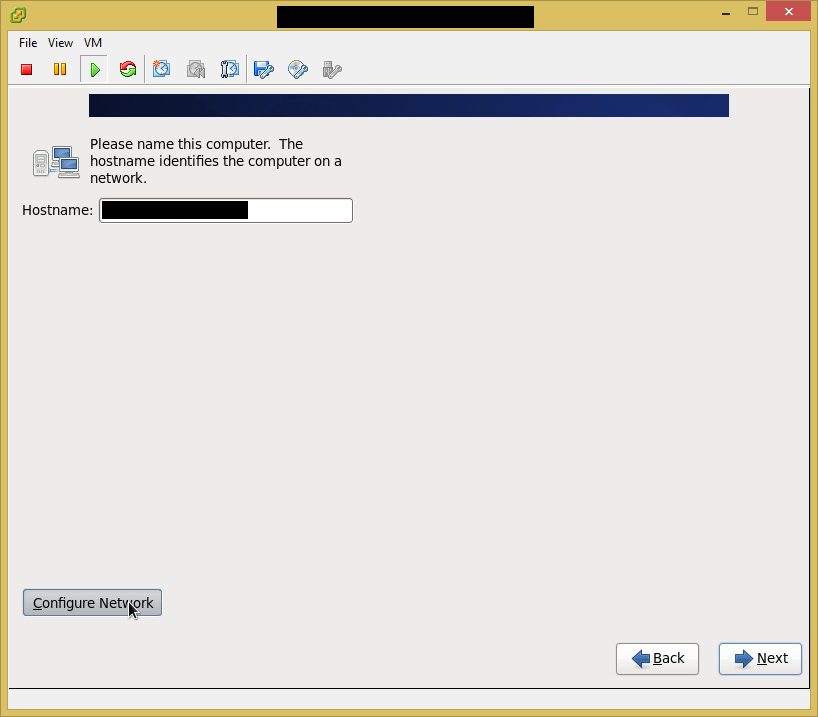
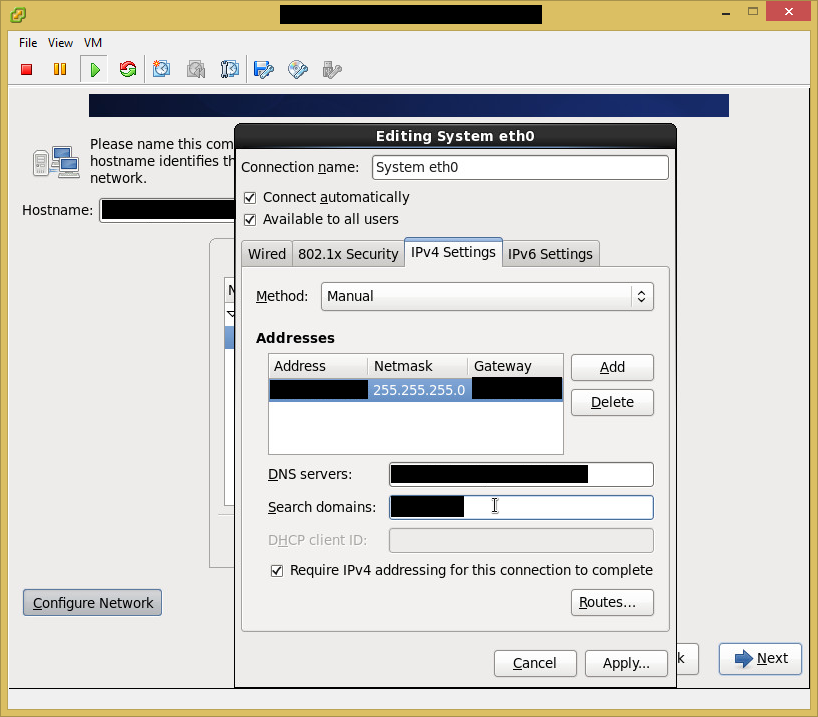
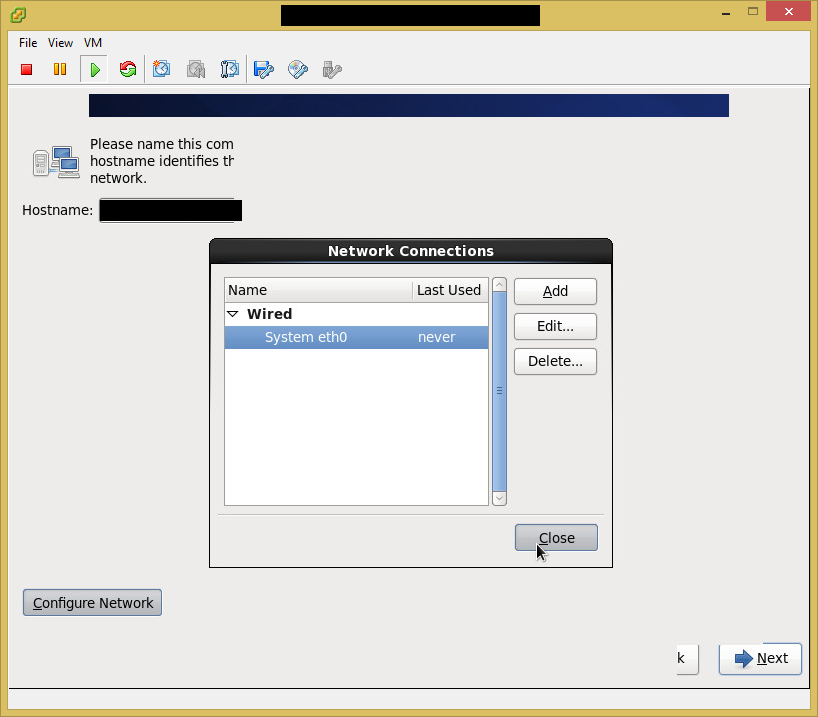
Configure the network, in this case running on eth0.

Next.
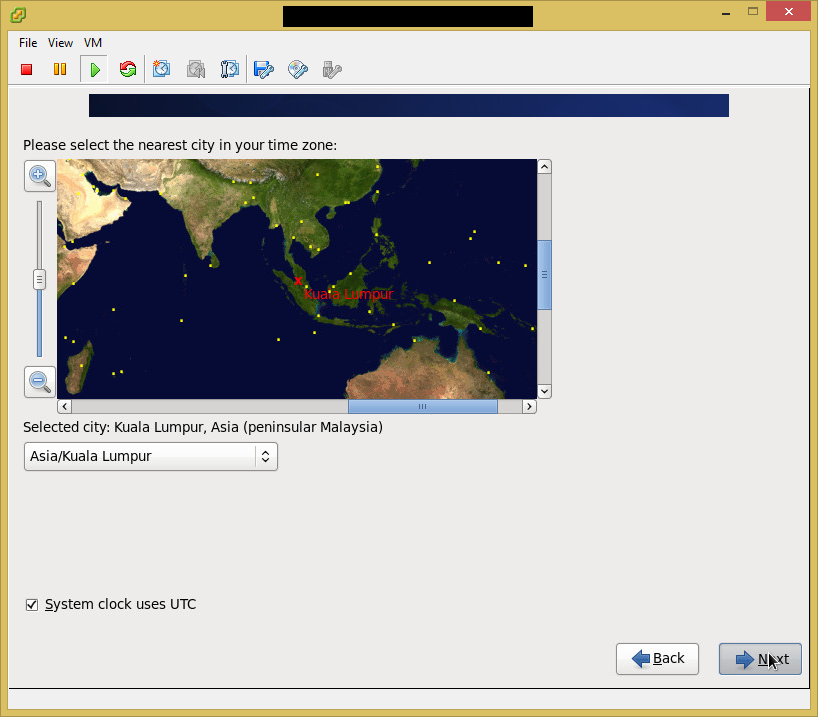
Choose appropriate timezone.
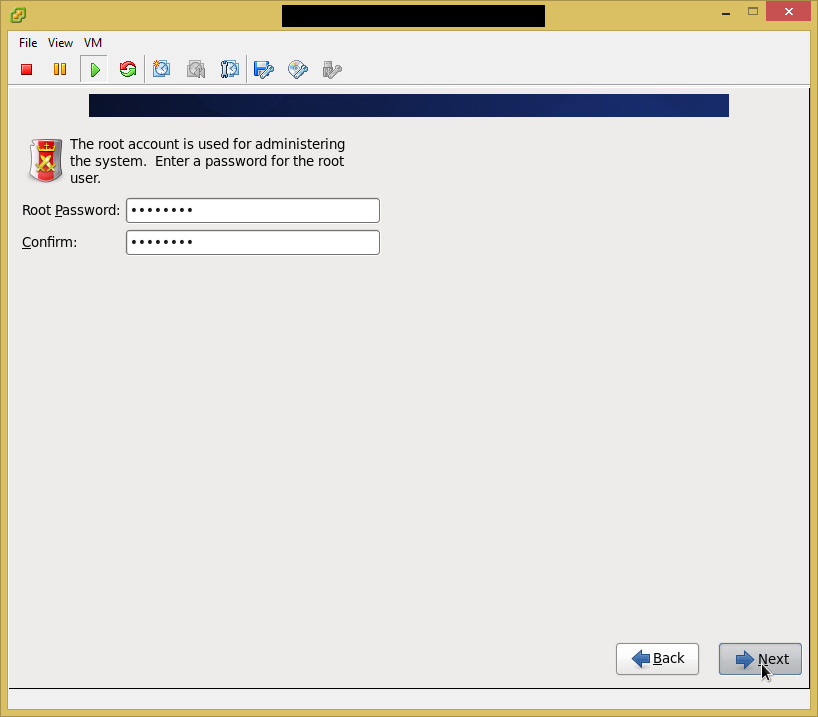
Choose a secure password for root user.
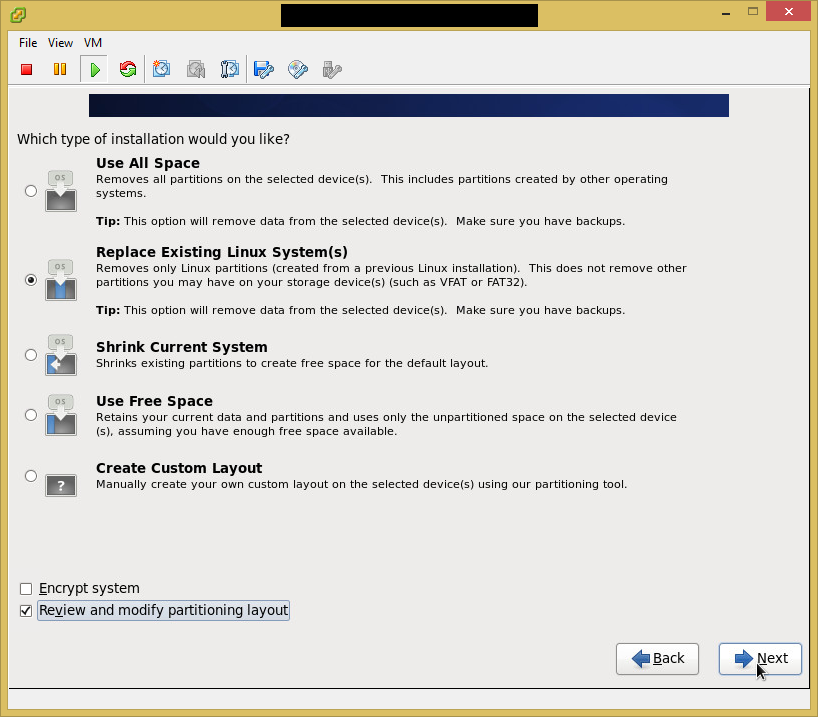
Don’t forget to click ‘Review and modify partitioning layout’ as the Zenoss installation will require non-journaled filesystem for the RRD files.
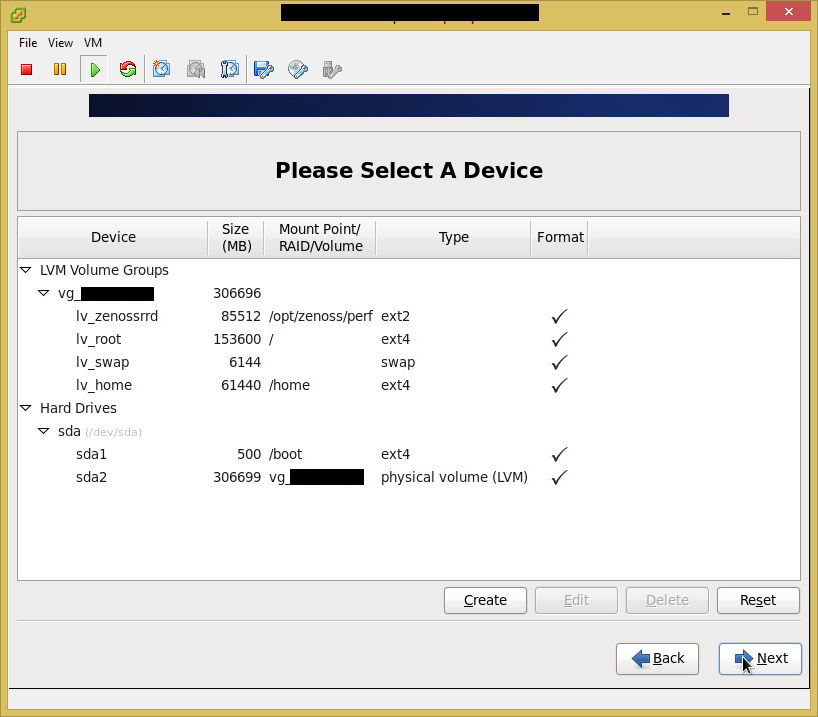
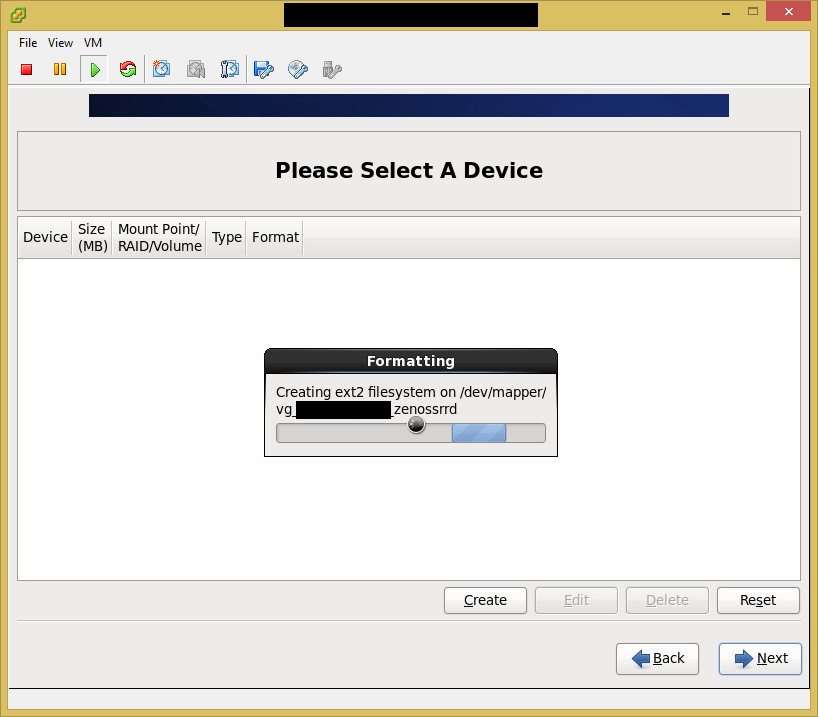
The default swap did not show exactly 6GB, so I fixed that. I then gave 150GB to root (‘/’), 60GB to home partition (‘/home’), and the remaining free space for the RRD files. I used ‘/opt/zenoss/perf’ as the mount point for the RRD files because that is the information given in the Zenoss installation guide. I have not checked the auto-deploy script yet, so this might be the wrong thing to do. The ext2 filesystem is used because ext2 is not a journaled filesystem.
Agree to format sda.

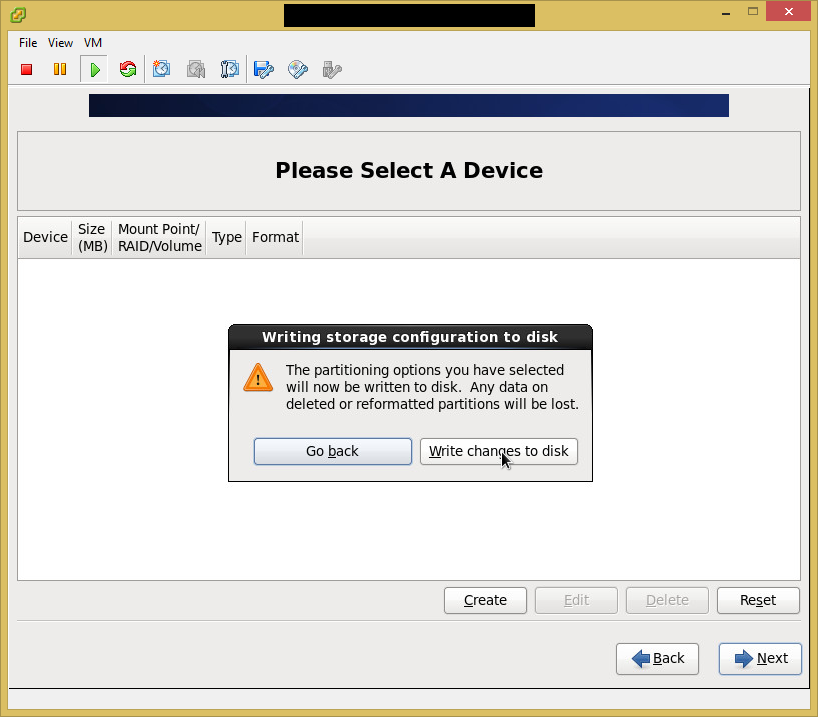
Agree to write partition layout to disk.
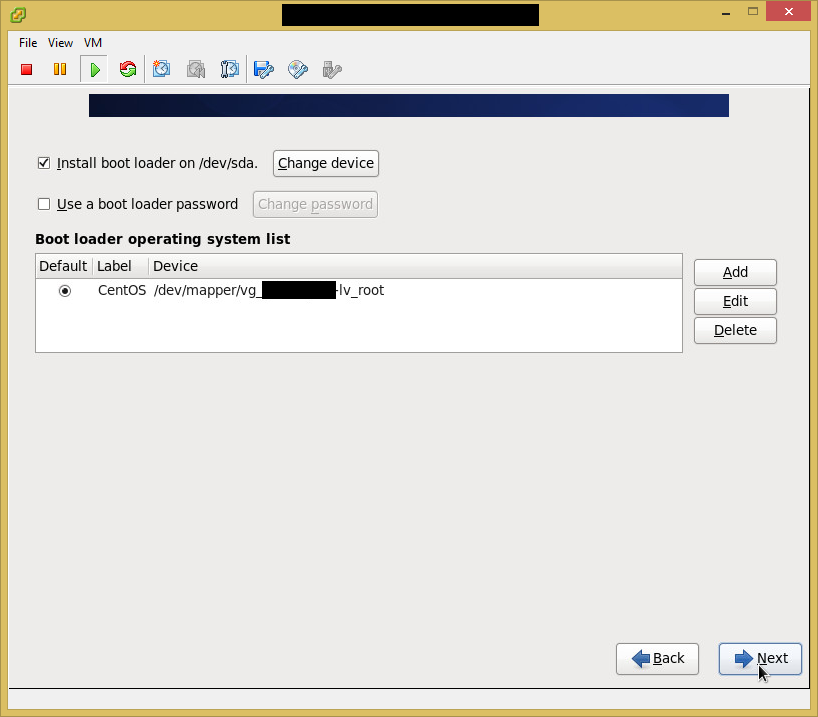
Agree to install bootloader into sda.
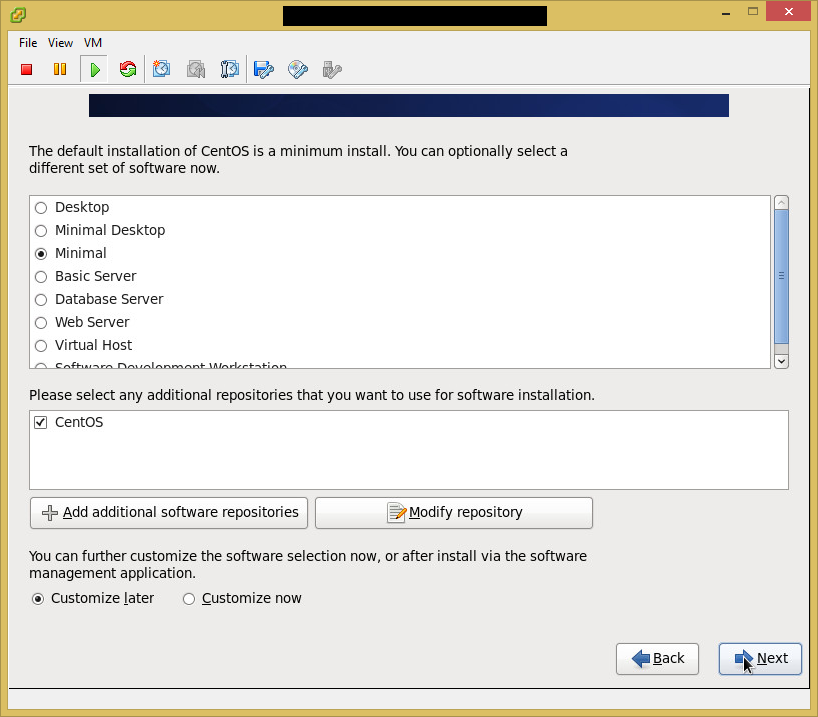
I choose the minimal installation, because I will not be needing the GUI and would like the server to be as clean as possible without unwanted rubbish.
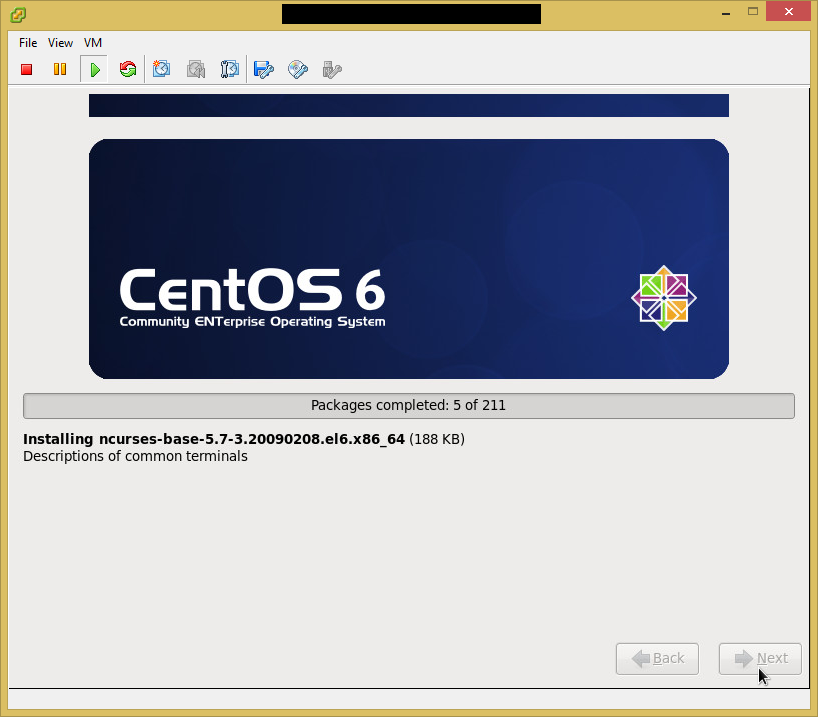
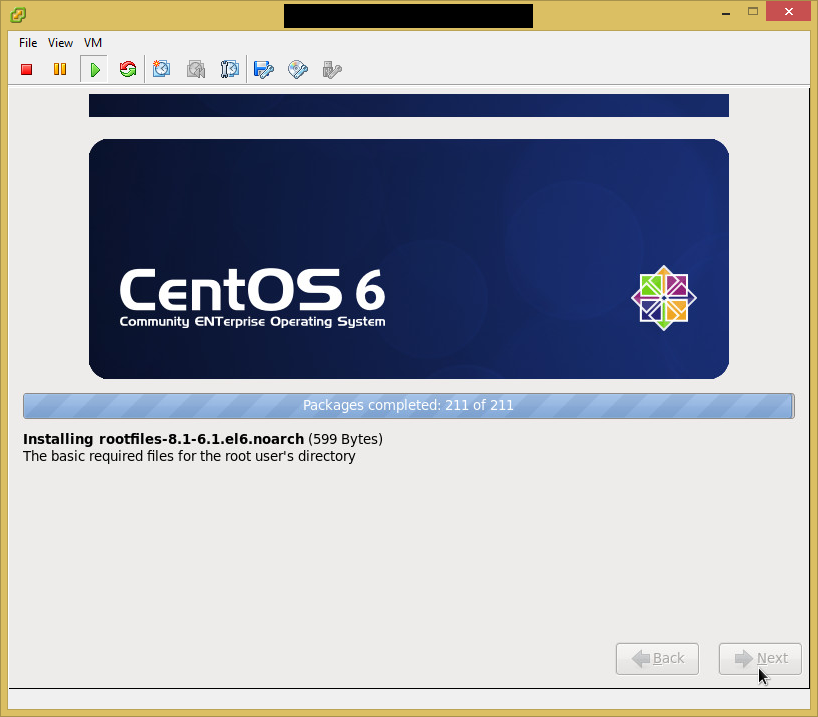
Wait for the installation to complete.
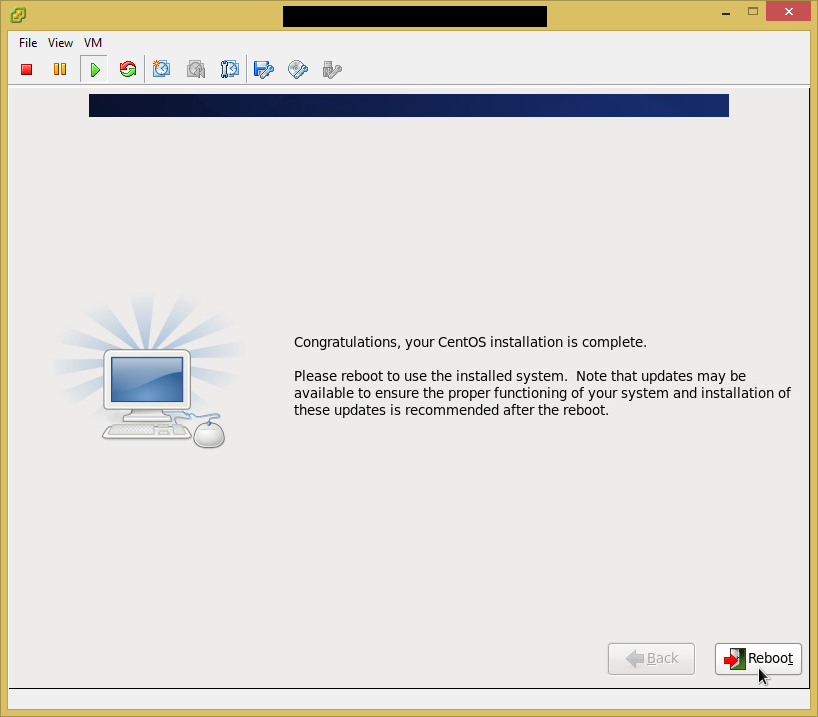
Click reboot to reboot the server after the installation has been completed.

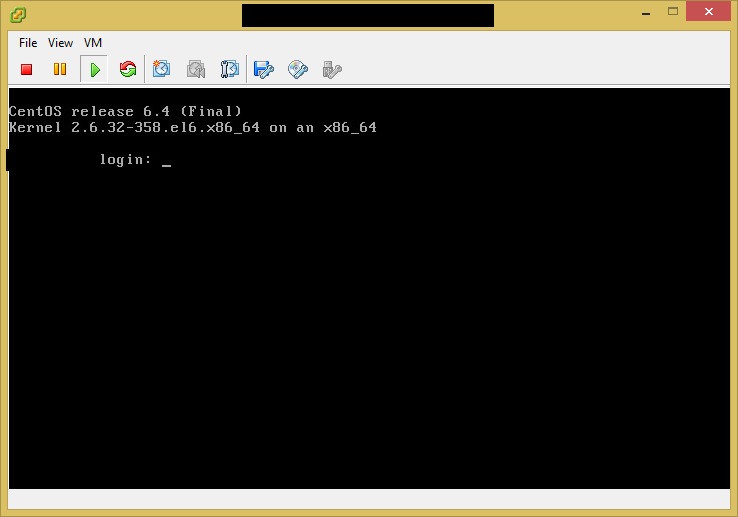
Installation has been completed and the server booted to the console login screen.
That concludes the server OS installation. In the next post I will begin installing Zenoss proper.