I have been reading up on Oracle APEX Listener, and I want to try using it to serve Oracle APEX instead of the Embedded PL/SQL Gateway (EPG). EPG is the default option for the APEX that is included in Oracle Database XE; it works, but many of the features of APEX like RESTful services cannot be used with it.
Oracle APEX Listener must run on top of an application server, and the only supported servers are Oracle WebLogic and GlassFish Server. Since WebLogic costs money, the free way to try APEX Listener is by first installing GlassFish Server.
This post is intended to document the process of installing GlassFish 4.0 server on CentOS 6.4.
Let’s start with a minimal CentOS 6.4 installation.
Then, install Java SDK by going to the Java SDK Download Page (via a desktop, as wget won’t work) and copying the rpm over to the server. Proceed with installation of the rpm.
# rpm -Uvh jdk-7u25-linux-x64.rpm
After that, grab the GlassFish Server Open Source Edition installer from the GlassFish Server website.
# yum install wget
# wget http://download.java.net/glassfish/4.0/release/glassfish-4.0-unix.sh
The installer chosen above is a graphical installer (there are other install options, which will not be covered in this post), so we will need to install x11 and configure forwarding with SSH.
# yum install xorg-x11-xauth xorg-x11-utils
Ensure the hostname of the server can be resolved via DNS (the installation will flag errors during the config stage if the server hostname is not resolvable.
# hostname
host.domain.tld

# ping host.domain.tld
Login again via SSH and enable X11 forwarding, and run the installer.
# sh glassfish-4.0-unix.sh
Extracting the installer archive...
Extracting the installer runtime...
Extracting the installer resources...
Extracting the installer metadata...

Welcome to GlassFish installer

Using the user defined JAVA_HOME : /usr
Entering setup...
SwixML 1.5 (#144)
The graphical installer will then load.
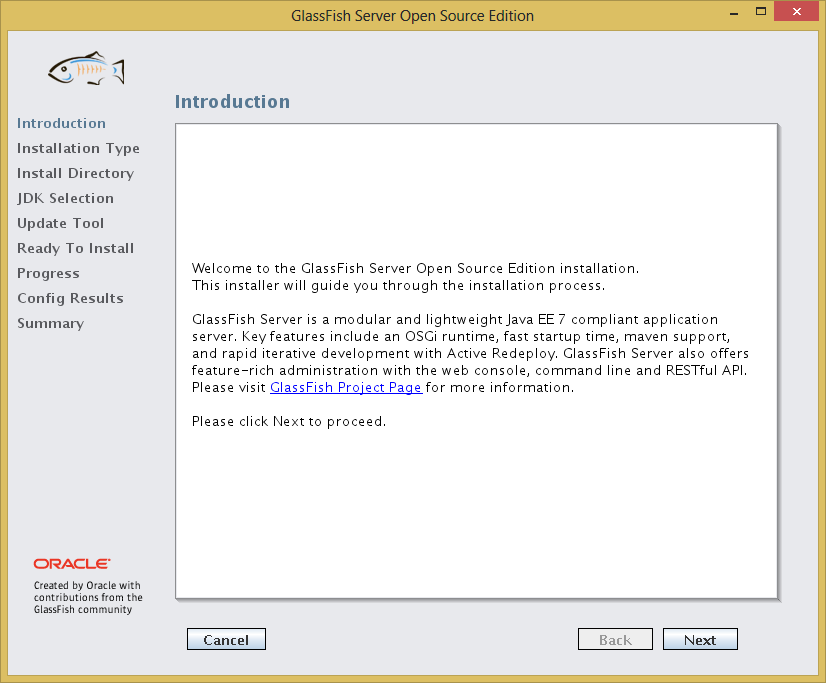 Click Next.
The next page is supposed to give a choice of installation type, but only one type (Typical Installation) is available.
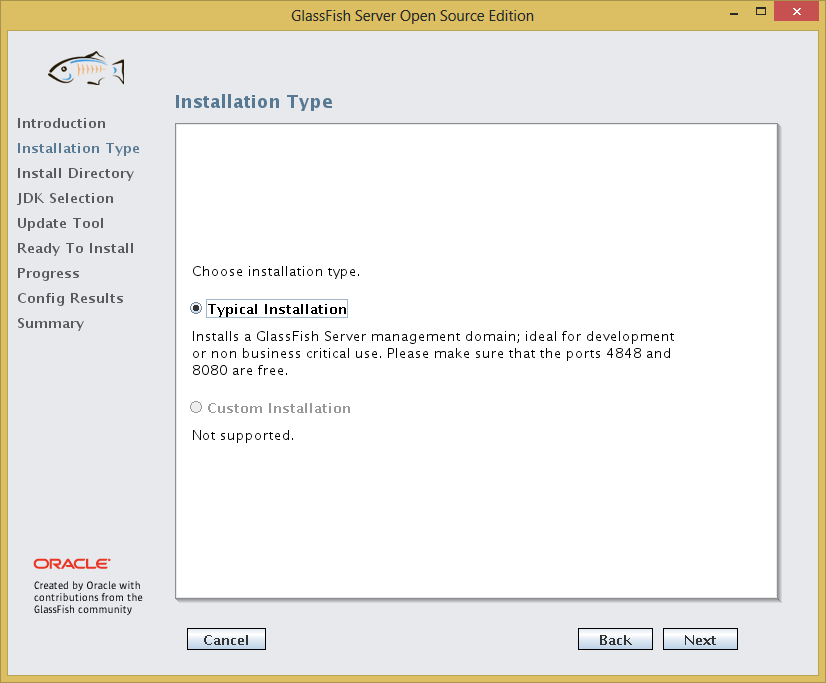 Click Next.
In the next page you can specify the directory in which you wish to install GlassFish Server Open Source Edition. The default directory is ~/glassfish4.
 I will accept the default. Click Next.
The next page is the JDK selection page.
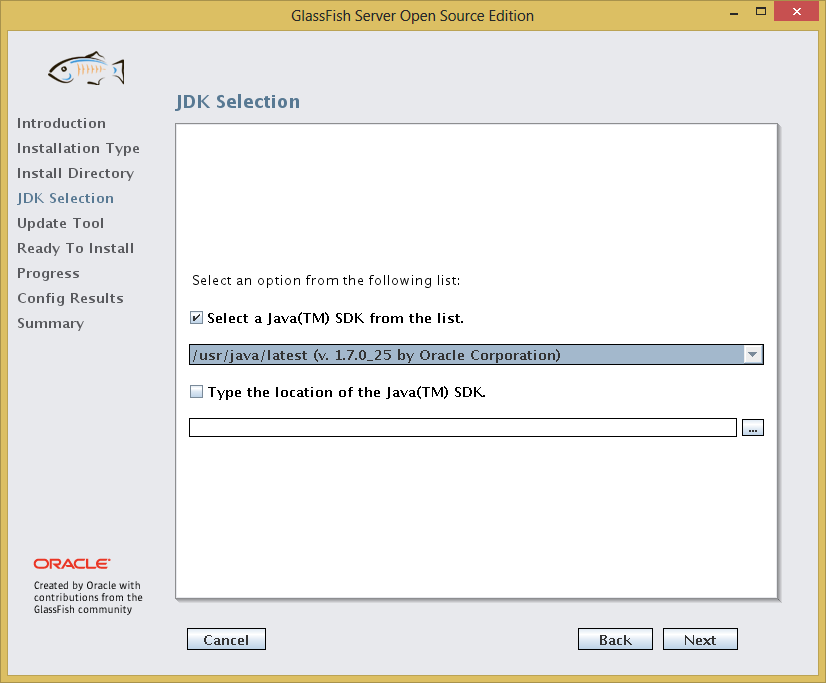 The installer has detected correctly the JDK which was installed earlier. There is an option to type in another custom location of any JDK you want to use instead. Click Next.
Next comes the update tool page. The installer will install an update tool that will check for GlassFish Server updates. You can uncheck this if you want.
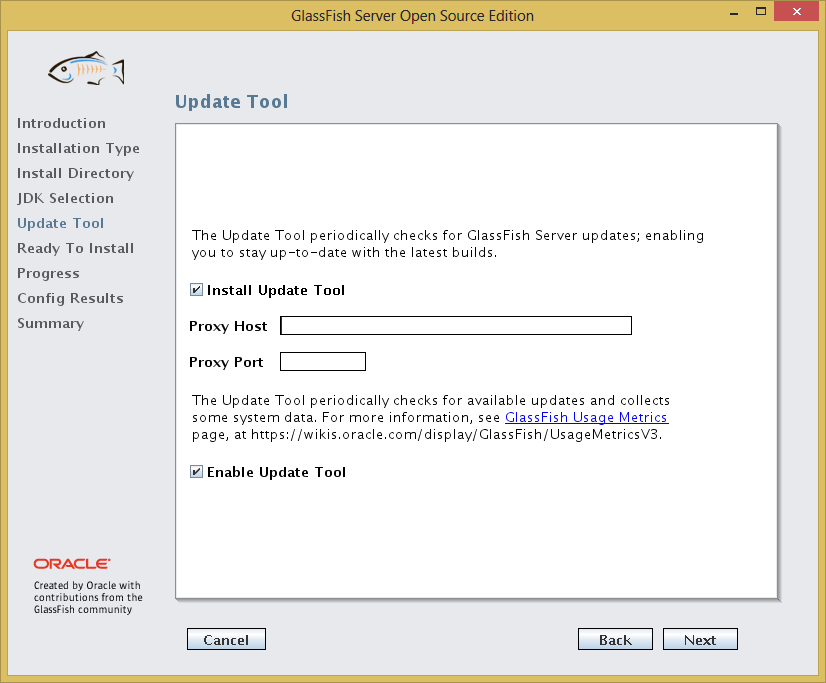 I will leave it installed. Click Next.
Then comes the summary page before finalising the install.
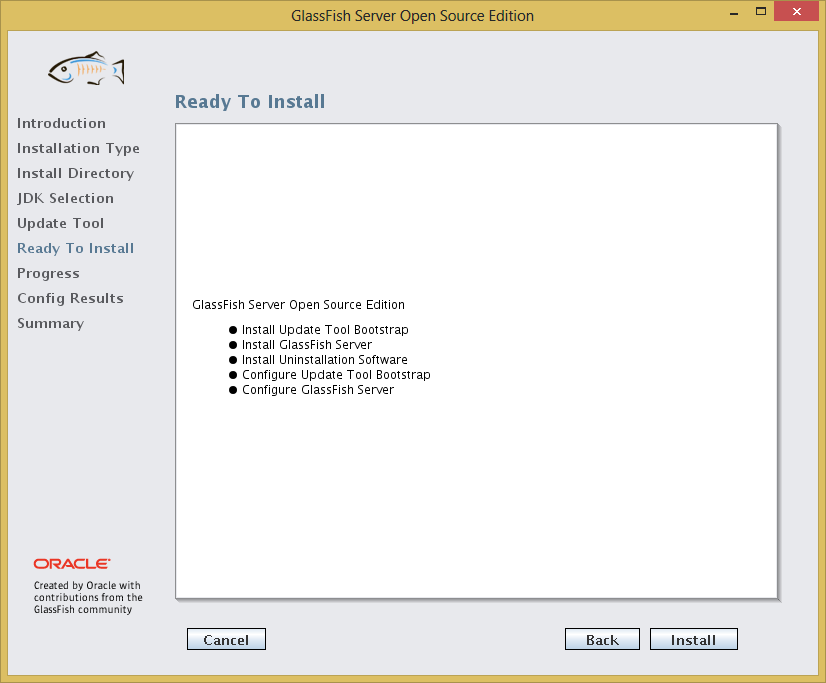 Click Install.
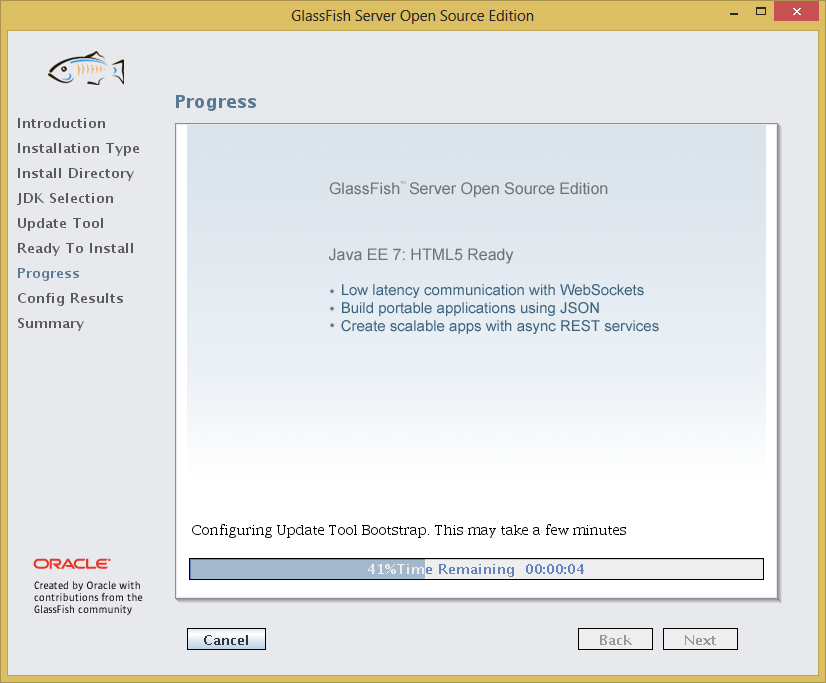
Installation will then begin.
 After the installation has finished, the installer will perform some configuration, and the next page will show the configuration results.
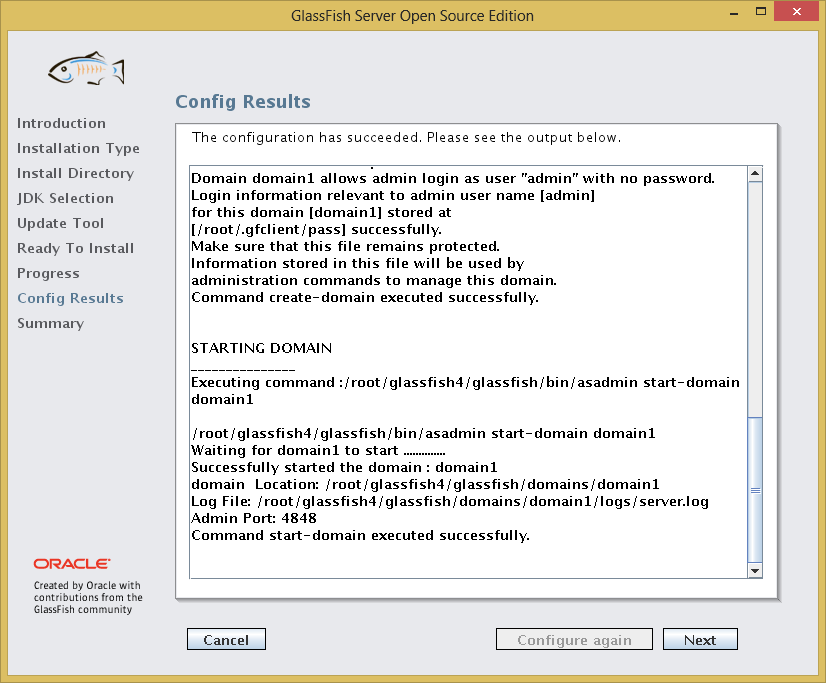 Take note of the Admin Port. In this case it is 4848. Click Next.
Finally, the installer will show a summary of the installation.
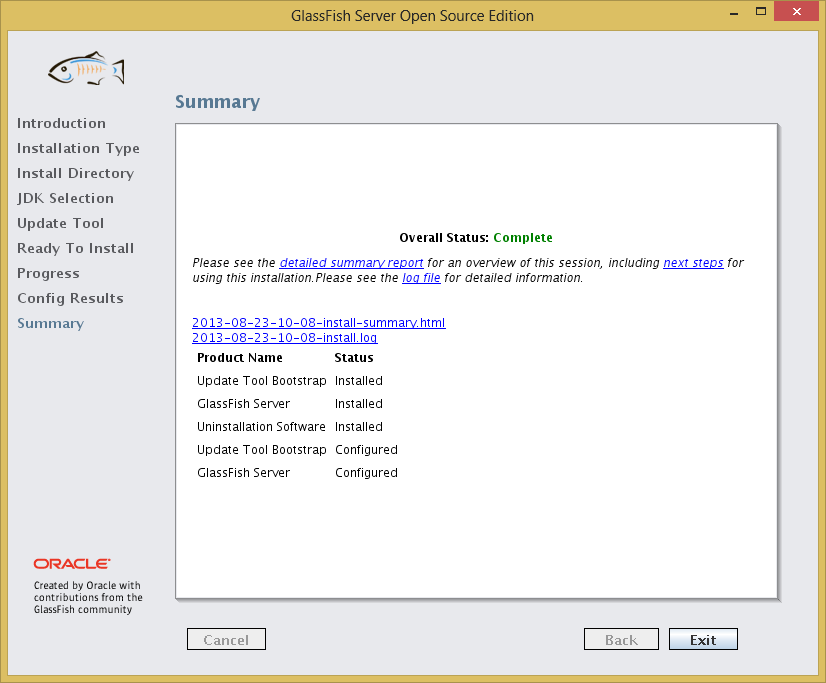 Click Exit to close the installer.
By default, the GlassFish console running on the Admin Port (4848 as noted during the installation) will not accept remote connections. Therefore, we have to run a browser from the server itself.
# yum install firefox
# dbus-uuidgen > /var/lib/dbus/machine-id
# firefox
Key in localhost:4848 to the address bar, and the GlassFish console will load!
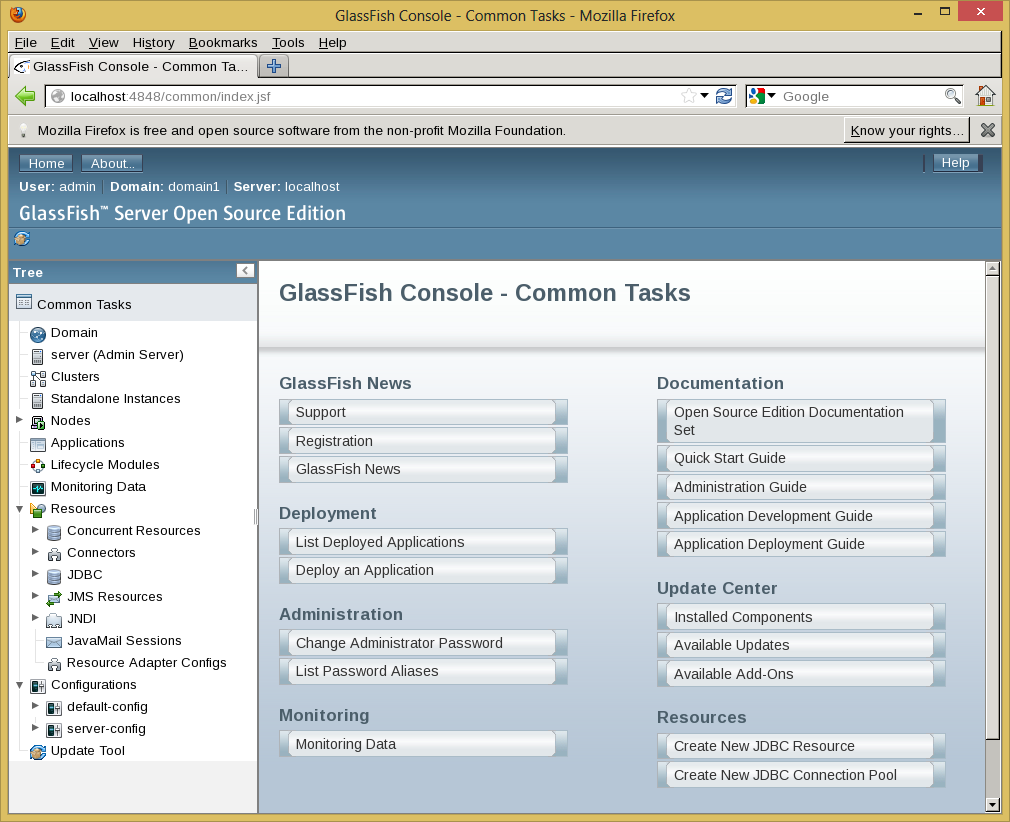 GlassFish Server Open Source Edition is now ready to be used.
Update 30 August 2013 – Securing the Admin Port
It turns out, to enable remote access to the GlassFish Console is easy. Just use the enable-secure-admin command:
# /root/glassfish4/bin/asadmin enable-secure-admin
remote failure: At least one admin user has an empty password, which secure admin does not permit. Use the change-admin-password command or the admin console to create non-empty passwords for admin accounts.
Command enable-secure-admin failed.
The command failed because the default password for the GlassFish Console admin is blank. We need to set it to a non-blank password before enabling secure admin.
# /root/glassfish4/bin/asadmin change-admin-password
Enter admin user name [default: admin]>
Enter the admin password>
Enter the new admin password>
Enter the new admin password again>
Command change-admin-password executed successfully.
Now try the enable-secure-admin command again.
# /root/glassfish4/bin/asadmin enable-secure-admin
Authentication failed with password from login store: /root/.gfclient/pass
Enter admin password for user "admin">
You must restart all running servers for the change in secure admin to take effect.
Command enable-secure-admin executed successfully.
Restart the domain for the changes to take effect.
# /root/glassfish4/bin/asadmin stop-domain
Waiting for the domain to stop .
Command stop-domain executed successfully.

# /root/glassfish4/bin/asadmin start-domain
Waiting for domain1 to start ............................
Successfully started the domain : domain1
domain  Location: /root/glassfish4/glassfish/domains/domain1
Log File: /root/glassfish4/glassfish/domains/domain1/logs/server.log
Admin Port: 4848
Command start-domain executed successfully.
Don’t forget to open up port 4848 at the firewall.
# iptables -I INPUT 5 -m state --state NEW -p tcp --dport 4848 -j ACCEPT
Now the GlassFish Console is accessible outside of localhost. Key in hostname:4848 in the address bar of your browser, and you will be presented with the GlassFish Console login page. Your browser might throw a certificate error due to the self-signed certificate; just ignore this and add an exception.
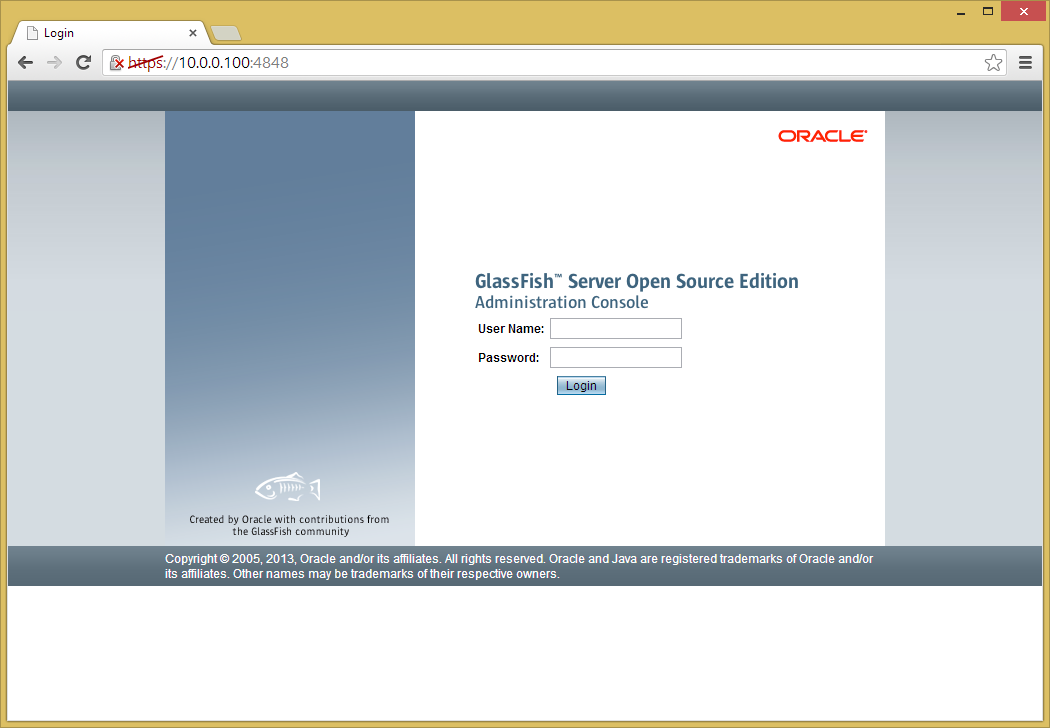 User Name should be ‘admin’ and the password will be the password you keyed in during the change-admin-password command earlier.
Hi. What is GlassFish Server? I don`t know GlassFish Server
http://en.wikipedia.org/wiki/GlassFish
Wow, wonderful tutorial. Just got a VPS and this worked perfectly.
Thanks.
Hi Ameh,
Thank you for your comment. I am glad this post helped you.
Thanks a lot Hazrul. It help me set up GF on my dedicated server without any problems.
You Rock
You’re welcome! I’m glad the post helped you. Thanks for stopping by!