Tag Archives: centos

Move Oracle APEX on Oracle XE 11gR2 from EPG to APEX Listener

I have been playing with Oracle Application Express (APEX) to make a few applications, but I have never been bothered to switch from the default Embedded PL/SQL Gateway (EPG).  However, after becoming a little bit familiar with APEX and its different configurations, I became interested to explore other ways of deploying APEX.

The purpose of this post is to document the switch-over of my APEX deployment from EPG to APEX Listener.

The OS of the server is CentOS 6.4.  I installed Oracle Express Edition (XE) 11gR2, with which APEX 4.0 is included.  I then upgraded APEX to 4.2.3, and installed GlassFish 4 Open Source Edition on the server.

Next, configure the APEX_PUBLIC_USER user.

 SQL> alter user apex_public_user identified by password account unlock;

After that it is time to disable EPG.

SQL> exec dbms_xdb.sethttpport(0);

Next, go into the APEX unzipped directory and run the configure restful services script.

$ cd apex_install_directory
$ sqlplus / as sysdba
SQL> @apex_rest_config
Enter a password for the APEX_LISTENER user              []
Enter a password for the APEX_REST_PUBLIC_USER user              []

PL/SQL procedure successfully completed.

PL/SQL procedure successfully completed.

...create APEX_LISTENER user

PL/SQL procedure successfully completed.

User created.

...create APEX_REST_PUBLIC_USER user

User created.

Grant succeeded.

Grant succeeded.

Grant succeeded.

Grant succeeded.

Grant succeeded.

Grant succeeded.

Grant succeeded.

Grant succeeded.

Grant succeeded.

Grant succeeded.

Grant succeeded.

Grant succeeded.

Grant succeeded.

Grant succeeded.

Grant succeeded.

Grant succeeded.

Grant succeeded.

Grant succeeded.

Grant succeeded.

Grant succeeded.

Grant succeeded.

Grant succeeded.

Grant succeeded.

Grant succeeded.

Session altered.

Synonym created.

Synonym created.

Synonym created.

Synonym created.

Synonym created.

Synonym created.

Synonym created.

Synonym created.

Synonym created.

Synonym created.

Synonym created.

Synonym created.

Synonym created.

Synonym created.

Synonym created.

Synonym created.

Synonym created.

Synonym created.

Synonym created.

Synonym created.

Synonym created.

Synonym created.

Session altered.

PL/SQL procedure successfully completed.

SQL>

Then, grant connect privileges to the APEX_040200 user.

 DECLARE
  ACL_PATH  VARCHAR2(4000);
BEGIN
  -- Look for the ACL currently assigned to '*' and give APEX_040200
  -- the "connect" privilege if APEX_040200 does not have the privilege yet.

  SELECT ACL INTO ACL_PATH FROM DBA_NETWORK_ACLS
   WHERE HOST = '*' AND LOWER_PORT IS NULL AND UPPER_PORT IS NULL;

  IF DBMS_NETWORK_ACL_ADMIN.CHECK_PRIVILEGE(ACL_PATH, 'APEX_040200',
     'connect') IS NULL THEN
      DBMS_NETWORK_ACL_ADMIN.ADD_PRIVILEGE(ACL_PATH,
     'APEX_040200', TRUE, 'connect');
  END IF;

EXCEPTION
  -- When no ACL has been assigned to '*'.
  WHEN NO_DATA_FOUND THEN
  DBMS_NETWORK_ACL_ADMIN.CREATE_ACL('power_users.xml',
    'ACL that lets power users to connect to everywhere',
    'APEX_040200', TRUE, 'connect');
  DBMS_NETWORK_ACL_ADMIN.ASSIGN_ACL('power_users.xml','*');
END;
/
COMMIT;

Download and unzip APEX Listener.

Configure APEX Listener.

# java -jar apex.war
This Listener instance has not yet been configured.
Please complete the following prompts

Enter the location to store configuration data:/root/apex_listener/
Oct 15, 2013 1:31:28 AM oracle.dbtools.common.config.cmds.ConfigDir execute
INFO: Set config.dir to /root/apex_listener/ in: /root/apex_listener/apex.war
Oct 15, 2013 1:31:29 AM oracle.dbtools.common.config.file.ConfigurationFolder logConfigFolder
INFO: Using configuration folder: /root/apex_listener/apex
Enter the name of the database server [localhost]:
Enter the database listen port [1521]:
Enter 1 to specify the database service name, or 2 to specify the database SID [1]:2
Enter the database SID [xe]:
Enter the database user name [APEX_PUBLIC_USER]:
Enter the database password for APEX_PUBLIC_USER:
Confirm password:
Enter 1 to enter passwords for the RESTful Services database users (APEX_LISTENER,APEX_REST_PUBLIC_USER), 2 to use the same password as used for APEX_PUBLIC_USER or, 3 to skip this step [1]:1
Enter the database password for APEX_LISTENER:
Confirm password:
Enter the database password for APEX_REST_PUBLIC_USER:
Confirm password:
Oct 15, 2013 1:32:38 AM oracle.dbtools.common.config.file.ConfigurationFiles update
INFO: Updated configurations: defaults, apex, apex_al, apex_rt
Enter 1 if you wish to start in standalone mode or 2 to exit [1]:2
#

Configure administrator for APEX Listener

# java -jar apex.war user adminlistener "Listener Administrator"
Oct 15, 2013 1:36:58 AM oracle.dbtools.common.config.file.ConfigurationFolder logConfigFolder
INFO: Using configuration folder: /root/apex_listener/apex
Enter a password for user adminlistener:
Confirm password for user adminlistener:
Oct 15, 2013 1:37:14 AM oracle.dbtools.standalone.ModifyUser execute
INFO: Created user: adminlistener in file: /root/apex_listener/apex/credentials

Create war for static images

# java -jar apex.war static /u01/app/oracle/apex/images
WAR Generation complete
 WAR location     : /root/apex_listener/i.war
 Context path     : /i
 Static resources : /u01/app/oracle/apex/images
Ensure the static resources are available at path: /u01/app/oracle/apex/images

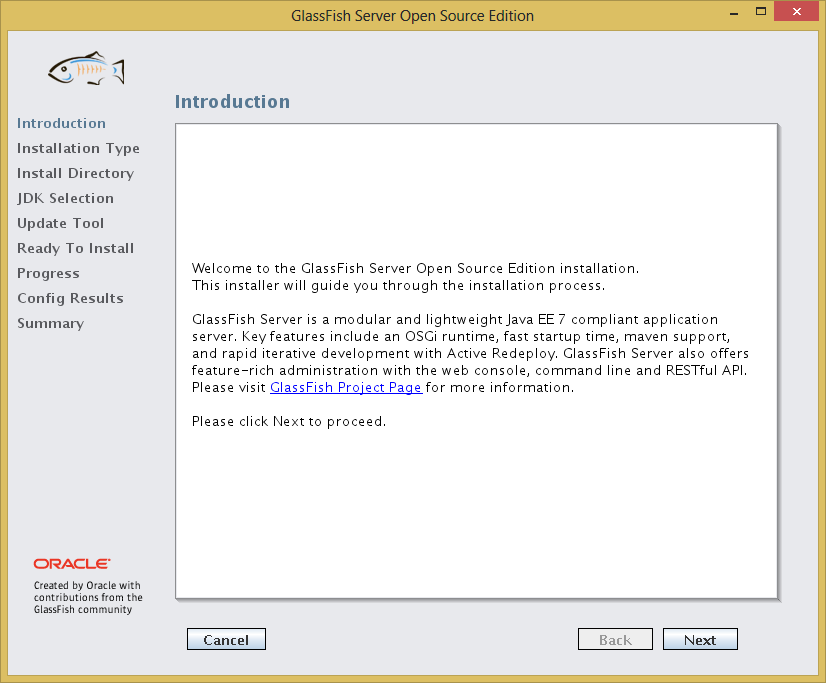
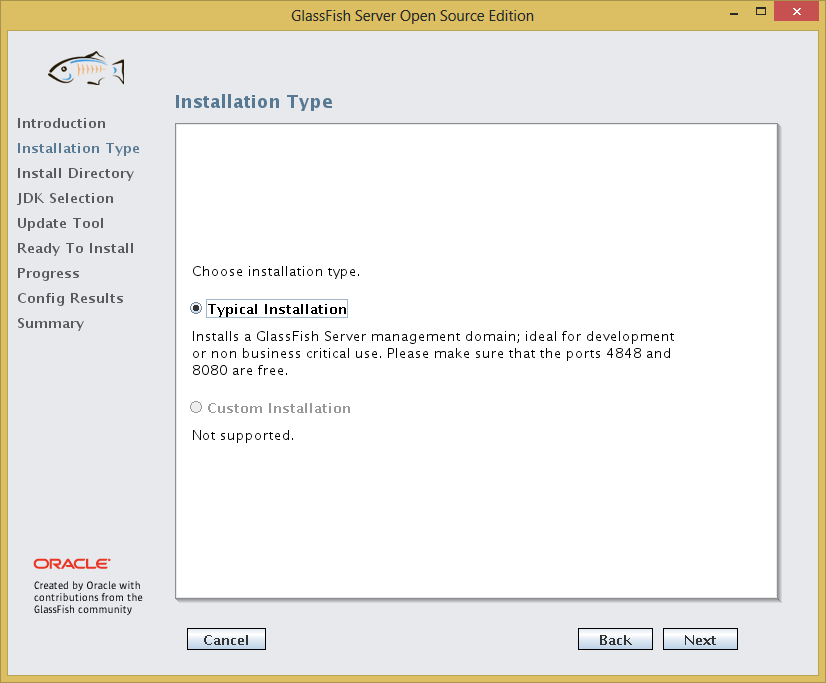
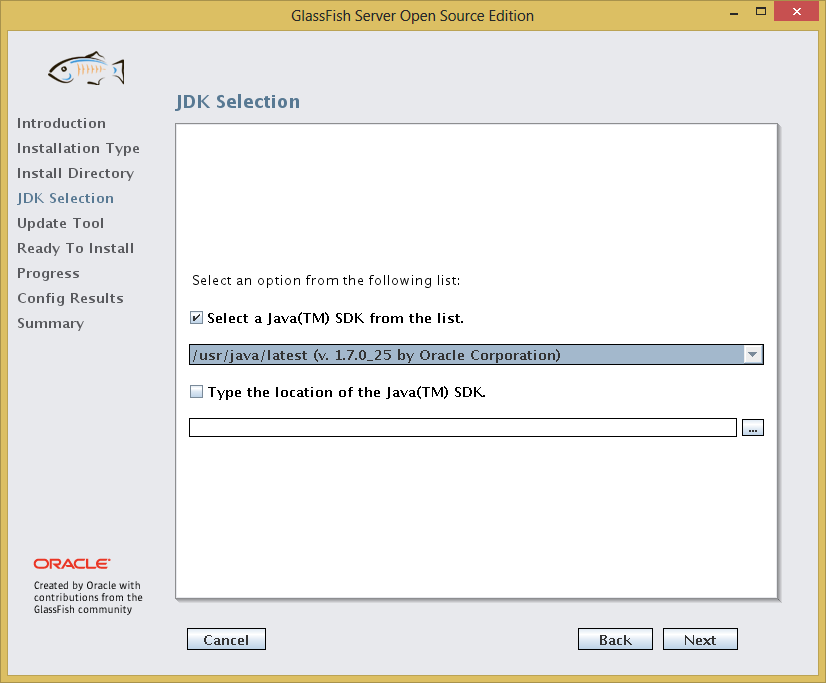
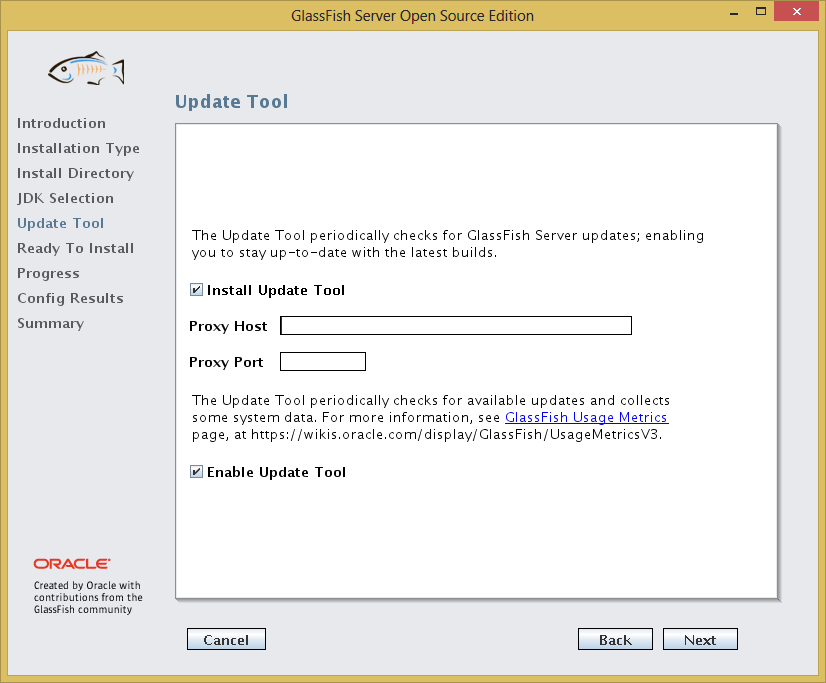
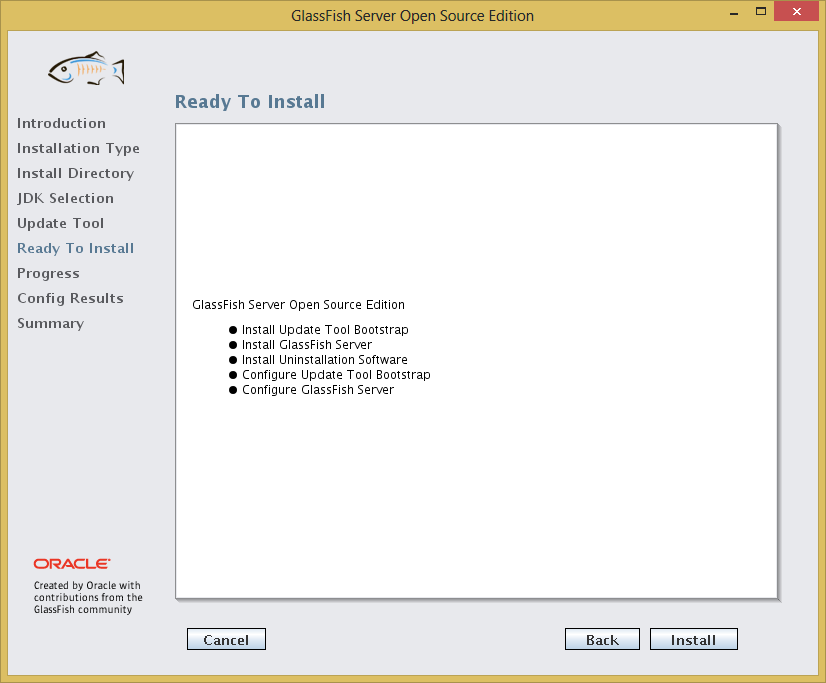
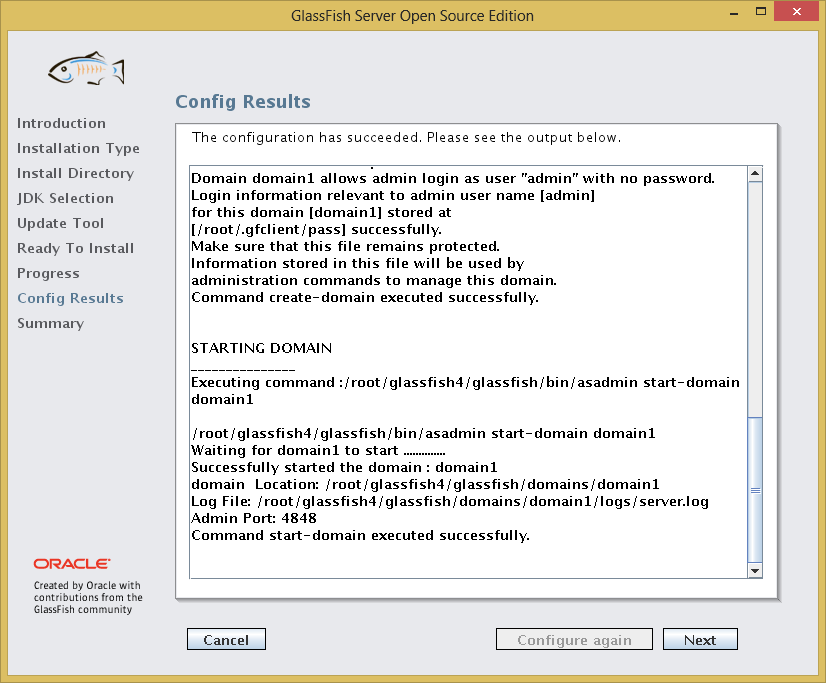
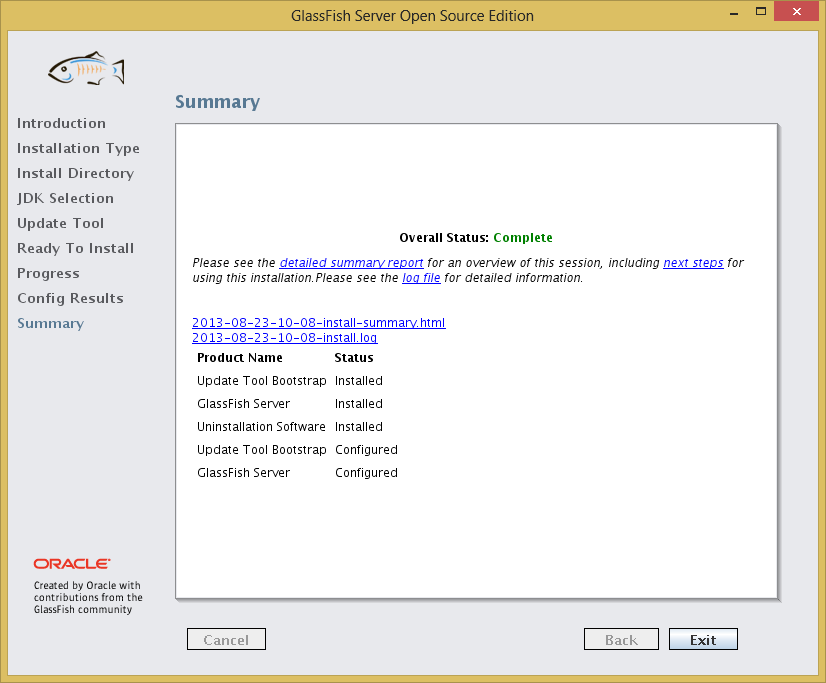
Deploy on GlassFish.

Installing GlassFish Server Open Source Edition 4.0 on CentOS 6.4

I have been reading up on Oracle APEX Listener, and I want to try using it to serve Oracle APEX instead of the Embedded PL/SQL Gateway (EPG).  EPG is the default option for the APEX that is included in Oracle Database XE; it works, but many of the features of APEX like RESTful services cannot be used with it.

Oracle APEX Listener must run on top of an application server, and the only supported servers are Oracle WebLogic and GlassFish Server.  Since WebLogic costs money, the free way to try APEX Listener is by first installing GlassFish Server.

This post is intended to document the process of installing GlassFish 4.0 server on CentOS 6.4.

Let’s start with a minimal CentOS 6.4 installation.

Then, install Java SDK by going to the Java SDK Download Page (via a desktop, as wget won’t work) and copying the rpm over to the server.  Proceed with installation of the rpm.

# rpm -Uvh jdk-7u25-linux-x64.rpm

After that, grab the GlassFish Server Open Source Edition installer from the GlassFish Server website.

# yum install wget
# wget http://download.java.net/glassfish/4.0/release/glassfish-4.0-unix.sh

The installer chosen above is a graphical installer (there are other install options, which will not be covered in this post), so we will need to install x11 and configure forwarding with SSH.

# yum install xorg-x11-xauth xorg-x11-utils

Ensure the hostname of the server can be resolved via DNS (the installation will flag errors during the config stage if the server hostname is not resolvable.

# hostname
host.domain.tld

# ping host.domain.tld

Login again via SSH and enable X11 forwarding, and run the installer.

# sh glassfish-4.0-unix.sh
Extracting the installer archive...
Extracting the installer runtime...
Extracting the installer resources...
Extracting the installer metadata...

Welcome to GlassFish installer

Using the user defined JAVA_HOME : /usr
Entering setup...
SwixML 1.5 (#144)

The graphical installer will then load.

GlassFish Install 1 - IntroductionClick Next.

The next page is supposed to give a choice of installation type, but only one type (Typical Installation) is available.

GlassFish Install 02 - Installation TypeClick Next.

In the next page you can specify the directory in which you wish to install GlassFish Server Open Source Edition.  The default directory is ~/glassfish4.

GlassFish Install 03 - Install DirectoryI will accept the default.  Click Next.

The next page is the JDK selection page.

GlassFish Install 04 - JDK SelectionThe installer has detected correctly the JDK which was installed earlier.  There is an option to type in another custom location of any JDK you want to use instead.  Click Next.

Next comes the update tool page.  The installer will install an update tool that will check for GlassFish Server updates.  You can uncheck this if you want.

GlassFish Install 05 - Update ToolI will leave it installed.  Click Next.

Then comes the summary page before finalising the install.

GlassFish Install 07 - Ready to InstallClick Install.

Installation will then begin.

GlassFish Install 08 - ProgressAfter the installation has finished, the installer will perform some configuration, and the next page will show the configuration results.

GlassFish Install 09 - Config ResultsTake note of the Admin Port.  In this case it is 4848.  Click Next.

Finally, the installer will show a summary of the installation.

GlassFish Install 10 - SummaryClick Exit to close the installer.

By default, the GlassFish console running on the Admin Port (4848 as noted during the installation) will not accept remote connections.  Therefore, we have to run a browser from the server itself.

# yum install firefox
# dbus-uuidgen > /var/lib/dbus/machine-id
# firefox

Key in localhost:4848 to the address bar, and the GlassFish console will load!

GlassFish Install 11 - GlassFish ConsoleGlassFish Server Open Source Edition is now ready to be used.


Update 30 August 2013 – Securing the Admin Port

It turns out, to enable remote access to the GlassFish Console is easy.  Just use the enable-secure-admin command:

# /root/glassfish4/bin/asadmin enable-secure-admin
remote failure: At least one admin user has an empty password, which secure admin does not permit. Use the change-admin-password command or the admin console to create non-empty passwords for admin accounts.
Command enable-secure-admin failed.

The command failed because the default password for the GlassFish Console admin is blank.  We need to set it to a non-blank password before enabling secure admin.

# /root/glassfish4/bin/asadmin change-admin-password
Enter admin user name [default: admin]>
Enter the admin password>
Enter the new admin password>
Enter the new admin password again>
Command change-admin-password executed successfully.

Now try the enable-secure-admin command again.

# /root/glassfish4/bin/asadmin enable-secure-admin
Authentication failed with password from login store: /root/.gfclient/pass
Enter admin password for user "admin">
You must restart all running servers for the change in secure admin to take effect.
Command enable-secure-admin executed successfully.

Restart the domain for the changes to take effect.

# /root/glassfish4/bin/asadmin stop-domain
Waiting for the domain to stop .
Command stop-domain executed successfully.

# /root/glassfish4/bin/asadmin start-domain
Waiting for domain1 to start ............................
Successfully started the domain : domain1
domain  Location: /root/glassfish4/glassfish/domains/domain1
Log File: /root/glassfish4/glassfish/domains/domain1/logs/server.log
Admin Port: 4848
Command start-domain executed successfully.

Don’t forget to open up port 4848 at the firewall.

# iptables -I INPUT 5 -m state --state NEW -p tcp --dport 4848 -j ACCEPT

Now the GlassFish Console is accessible outside of localhost.  Key in hostname:4848 in the address bar of your browser, and you will be presented with the GlassFish Console login page.  Your browser might throw a certificate error due to the self-signed certificate; just ignore this and add an exception.

GlassFish Install 12 - GlassFish Console Login PageUser Name should be ‘admin’ and the password will be the password you keyed in during the change-admin-password command earlier.

Upgrading Zenoss 4.2.3 to 4.2.4 on CentOS 6.4

The guides I am using for this procedure includes:

The resources above have somewhat conflicting information about upgrading to 4.2.4.  The installation guide lists a long set of instructions to perform but the blog, including the comments, suggest a much simpler course of action.

Some of the steps listed in the installation guide is not even required in my opinion.  For instance, the installation guide included the upgrade of MySQL server as part of the Zenoss upgrade.  However, as I found out after testing a fresh install of Zenoss 4.2.4, the MySQL version installed by the 4.2.4 auto-deploy script is the same as the one used by the 4.2.3 auto-deploy script.  Therefore, I would assume that not all the of the listed actions from the installation guide are totally necessary.

Let’s try the simplest upgrade as suggested by the blog.

Grab the 4.2.4 installer rpm.

# wget http://downloads.sourceforge.net/project/zenoss/zenoss-4.2/zenoss-4.2.4/zenoss_core-4.2.4.el6.x86_64.rpm

Stop Zenoss daemons.

# service zenoss stop
Daemon: zenwinperf stopping...
Daemon: zeneventlog stopping...
Daemon: zenwin stopping...
Daemon: zenjmx stopping...
Daemon: zenrrdcached stopping...
Daemon: zenprocess stopping...
Daemon: zencommand stopping...
Daemon: zenperfsnmp stopping...
Daemon: zenmodeler stopping...
Daemon: zentrap stopping...
Daemon: zenactiond stopping...
Daemon: zenstatus stopping...
Daemon: zensyslog stopping...
Daemon: zenping stopping...
Daemon: zeneventd stopping...
Daemon: zenjobs stopping...
Daemon: zenhub stopping...
Daemon: zopectl .
daemon process stopped
Daemon: zeneventserver stopping...

Install redis.

# yum --enablerepo=epel install redis

Install the installer rpm.

 # rpm -Uvh zenoss_core-4.2.4.el6.x86_64.rpm
Preparing...                ########################################### [100%]
Upgrading from zenoss 4.2.3 to zenoss 4.2.4
Stopping any down-level Zenoss daemons...
Stopped.
   1:zenoss                 ########################################### [100%]

At this point, as I understand it, there will be some problems with passwords not matching in configuration files, because the auto-deploy scripts (for both 4.2.3 and 4.2.4) would perform password synchronization, which is not done by the RPM.  Let’s check them.

# cat /opt/zenoss/etc/hubpasswd
admin:zenoss

# cat /opt/zenoss/etc/global.conf | grep password
zodb-password <some other password>
zodb-admin-password xxxxxxxxx
amqppassword <some other password>
zep-password <some other password>
zep-admin-password xxxxxxxxx
hubpassword <some other password>

The password in the hubpasswd file should match the <some other password> in global.conf.  So let’s change it.

# vi /opt/zenoss/etc/hubpasswd
# cat /opt/zenoss/etc/hubpasswd
admin:<some other password>

Finally, start the zenoss service.

# service zenoss start
Zenoss upgraded.  Running data migration scripts...
Upgrade pre step
Checking RRDtool version >= 1.4.7: [ OK ] 1.4.7
Creating database: zenoss_zep
Applying schema version: 6
Dropping database: zodb_session
Creating database: zodb_session
Applying schema version: 1
Applying schema version: 2
Upgrading to use persistent sessions...
Already using persistent sessions or using custom session storage. zope.conf will not be altered.
Starting zeneventserver...
Migrating data...

...
...

Upgrade install post step
Zenoss upgrade complete.

And the upgrade is done!

The ‘localhost’ device started to give out warnings in Zenoss that the zen processes are not running, but after a remodel of the device, the warnings stopped.

Install Zenoss 4.2.4 on CentOS 6.4

I have not been checking up on Zenoss updates since my initial installation a few months ago.  I did not realise that Zenoss released a bugfix update 4.2.4 in July.

My 4.2.3 install has been working well so far, and I plan to update to 4.2.4 soon.  However, firstly I want to revisit the process of installing a fresh version.  I will repeat the steps of my 4.2.3 installation, and see if anything changed.

Start with a minimal CentOS 6.4 installation.  Then disable SELinux.

Remove the mysql-libs package that has been installed as part of the minimal CentOS install.

# yum remove mysql-libs

Install wget and grab the Zenoss 4.2.4 auto-deploy script.

# yum install wget
# wget --no-check-certificate https://github.com/zenoss/core-autodeploy/tarball/4.2.4 -O auto.tar.gz

Unpack the auto-deploy script.

# tar xzvf auto.tar.gz

Go into the unpacked directory and run the auto-deploy script.

# cd zenoss-core-autodeploy-*
# ./core-autodeploy.sh
Welcome to the Zenoss Core auto-deploy script!

This auto-deploy script installs the Oracle Java Runtime Environment (JRE).
To continue, please review and accept the Oracle Binary Code License Agreement
for Java SE.

Press Enter to continue.

Hit Enter, read the agreement, and press q to exit the agreement page.

Type yes and press Enter to accept the agreement.

The install will proceed and finish successfully.

Zenoss Core 4.2.4 install completed successfully!

Please visit http://127.0.0.1:8080 in your favorite Web browser to complete
setup.

NOTE: You may need to disable or modify this server's firewall to access port
8080. To disable this system's firewall, type:

# service iptables save
# service iptables stop
# chkconfig iptables off

Alternatively, you can modify your firewall to enable incoming connections to
port 8080. Here is a full list of all the ports Zenoss accepts incoming
connections from, and their purpose:

        8080 (TCP)                 Web user interface
        11211 (TCP and UDP)        memcached
        514 (UDP)                  syslog
        162 (UDP)                  SNMP traps

If you encounter problems with this script, please report them on the
following wiki page:

http://wiki.zenoss.org/index.php?title=Talk:Install_Zenoss

Thank you for using Zenoss. Happy monitoring!

Now, set up the firewall rules and the zenoss page can be accessed at http://<hostname>:8080

# iptables -I INPUT 5 -p tcp --dport 8080 -j ACCEPT
# iptables -I INPUT 6 -p tcp --dport 11211 -j ACCEPT
# iptables -I INPUT 7 -p udp --dport 11211 -j ACCEPT
# iptables -I INPUT 8 -p udp --dport 514 -j ACCEPT
# iptables -I INPUT 9 -p udp --dport 162 -j ACCEPT
# service iptables save

That’s it!

Disable SELinux on CentOS 6

Check SELinux status using the sestatus command.

# sestatus
SELinux status:                 enabled
SELinuxfs mount:                /selinux
Current mode:                   enforcing
Mode from config file:          enforcing
Policy version:                 24
Policy from config file:        targeted

You can change the mode from enforcing to permissive and vice versa using the setenforce command.

# setenforce permissive

# sestatus
SELinux status:                 enabled
SELinuxfs mount:                /selinux
Current mode:                   permissive
Mode from config file:          enforcing
Policy version:                 24
Policy from config file:        targeted

To disable SELinux completely, modify the line ‘SELINUX=enforcing’ to ‘SELINUX=disabled’ in /etc/sysconfig/selinux .  The file will then look like this:

# This file controls the state of SELinux on the system.
# SELINUX= can take one of these three values:
#     enforcing - SELinux security policy is enforced.
#     permissive - SELinux prints warnings instead of enforcing.
#     disabled - No SELinux policy is loaded.
SELINUX=disabled
# SELINUXTYPE= can take one of these two values:
#     targeted - Targeted processes are protected,
#     mls - Multi Level Security protection.
SELINUXTYPE=targeted

Reboot the server and the config will take effect.

# sestatus
SELinux status:                 disabled

Set up SSL on CentOS running apache

Finally got SSL running on this blog.  This post is to document the steps I took.

This wiki page was what I used as a guide.

OS is CentOS 6.4 running Apache that is packaged together with the base repository.

First, make sure the required packages are installed.

# yum install mod_ssl openssl

The installation of mod_ssl will include a default https configuration with pre-generated key and self-signed certificate.

Pre-generated key = /etc/pki/tls/private/localhost.key
Pre-generated certificate = /etc/pki/tls/certs/localhost.crt
Default config = /etc/httpd/conf.d/ssl.conf

Restarting httpd at this point will give you a working https page served with the certificate mentioned above.  Do not forget to add firewall exception for port 443.

# service httpd restart
# iptables -I INPUT <line#> -p tcp --dport 443 -j ACCEPT
# service iptables save

Browsing to this page will show a security warning on browsers because the certificate used is not issued by a trusted certificate authority.  To get rid of the security warning, we have to sign our key with a trusted certificate authority.

Now let’s move on to generating our own key and getting it signed.

Generate key using openssl (change 1024 to 2048 or higher for better encryption).

# openssl genrsa -out ca.key 1024

Now, generate a certificate signing request (CSR) for the key.

# openssl req -new -key ca.key -out ca.csr

The command will prompt for further details to be embedded in the CSR.  The output file ca.csr will then be sent to a certificate authority for them to come up with a corresponding certificate.

You can also sign your own certificate using the following command.

openssl x509 -req -days 365 -in ca.csr -signkey ca.key -out ca.crt

After you have received the certificate, either from the certificate authority or via self-signing, the CSR file is no longer needed.

Now, copy the key and the certificate to the corresponding directories (so SELinux contexts can be applied without much tinkering).

Certificates go to /etc/pki/tls/certs/while keys go to /etc/pki/tls/private/

Next we can start configuring apache to use the certificate and key.  This can be done either in the main SSL configuration file at /etc/httpd/conf.d/ssl.conf or in the VirtualHost records.

Example VirtualHost record:

<VirtualHost *:443>
        SSLEngine on
        SSLCertificateFile /etc/pki/tls/certs/ca.crt
        SSLCertificateKeyFile /etc/pki/tls/private/ca.key
        ...
        ...
        ServerName centos01.hazrulnizam.com
</VirtualHost>

Finally, restart httpd and your https page will now use the new key and certificate.  If the certificate comes from a trusted certificate authority, you will no longer get the untrusted warning.